

If you’ve created a project using Windsurf AI and are wondering how to host it, you’re in the right place. This guide will walk you through the process of hosting your Windsurf projects on a shared hosting platform. Whether you’re using A2 Hosting, Bluehost, or another service, the steps are straightforward and designed for non-programmers.
Table of Contents
- Creating Your Project
- Step 1: Log into Your Web Hosting Space
- Step 2: Create a New Folder
- Step 3: Upload Your Project Files
- Step 4: Access Your Live Project
- Integrating with WordPress
- Conclusion
Creating Your Project
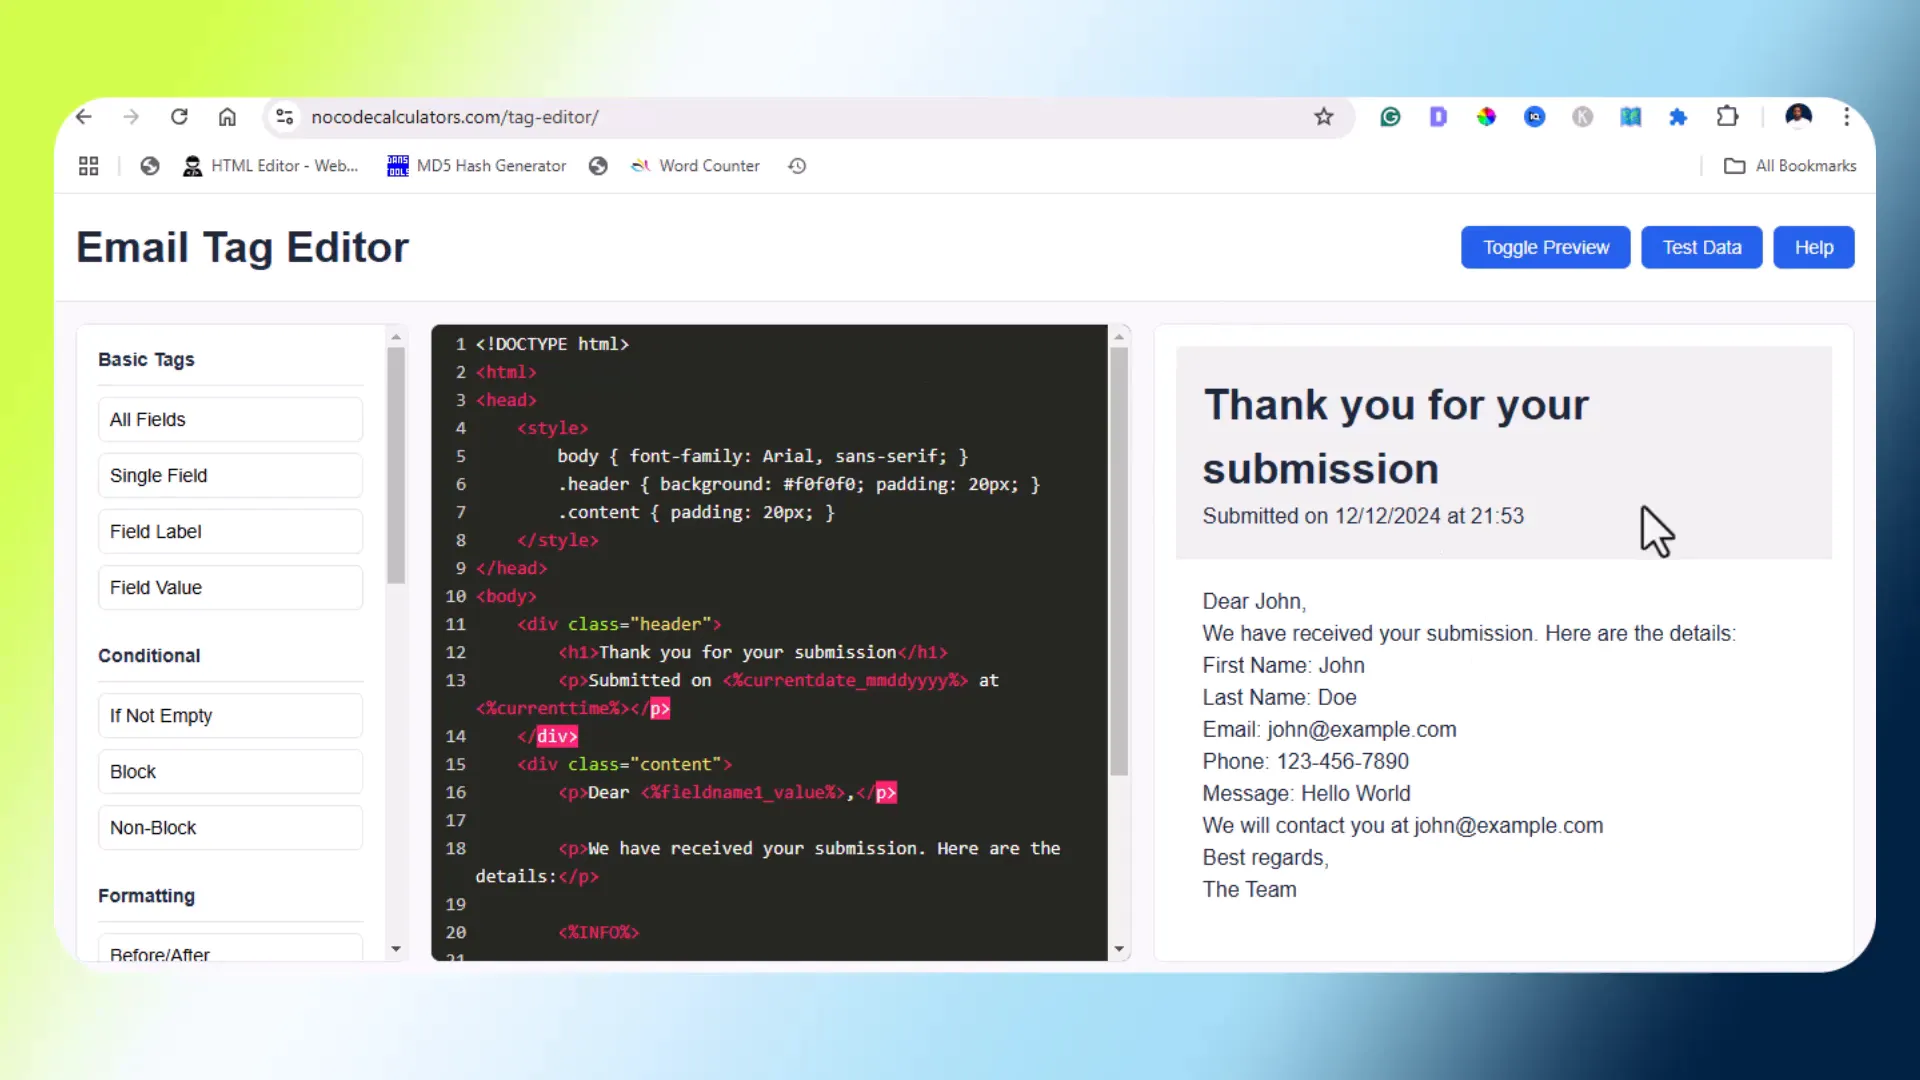
To illustrate the hosting process, let’s take a look at a project I developed called the Email Tag Editor. This project is based on a plugin known as Calculator Fields Form. The idea behind this tool is to generate emails automatically—like autoresponders and thank you pages—using tags that I can simply click through, rather than entering them manually.
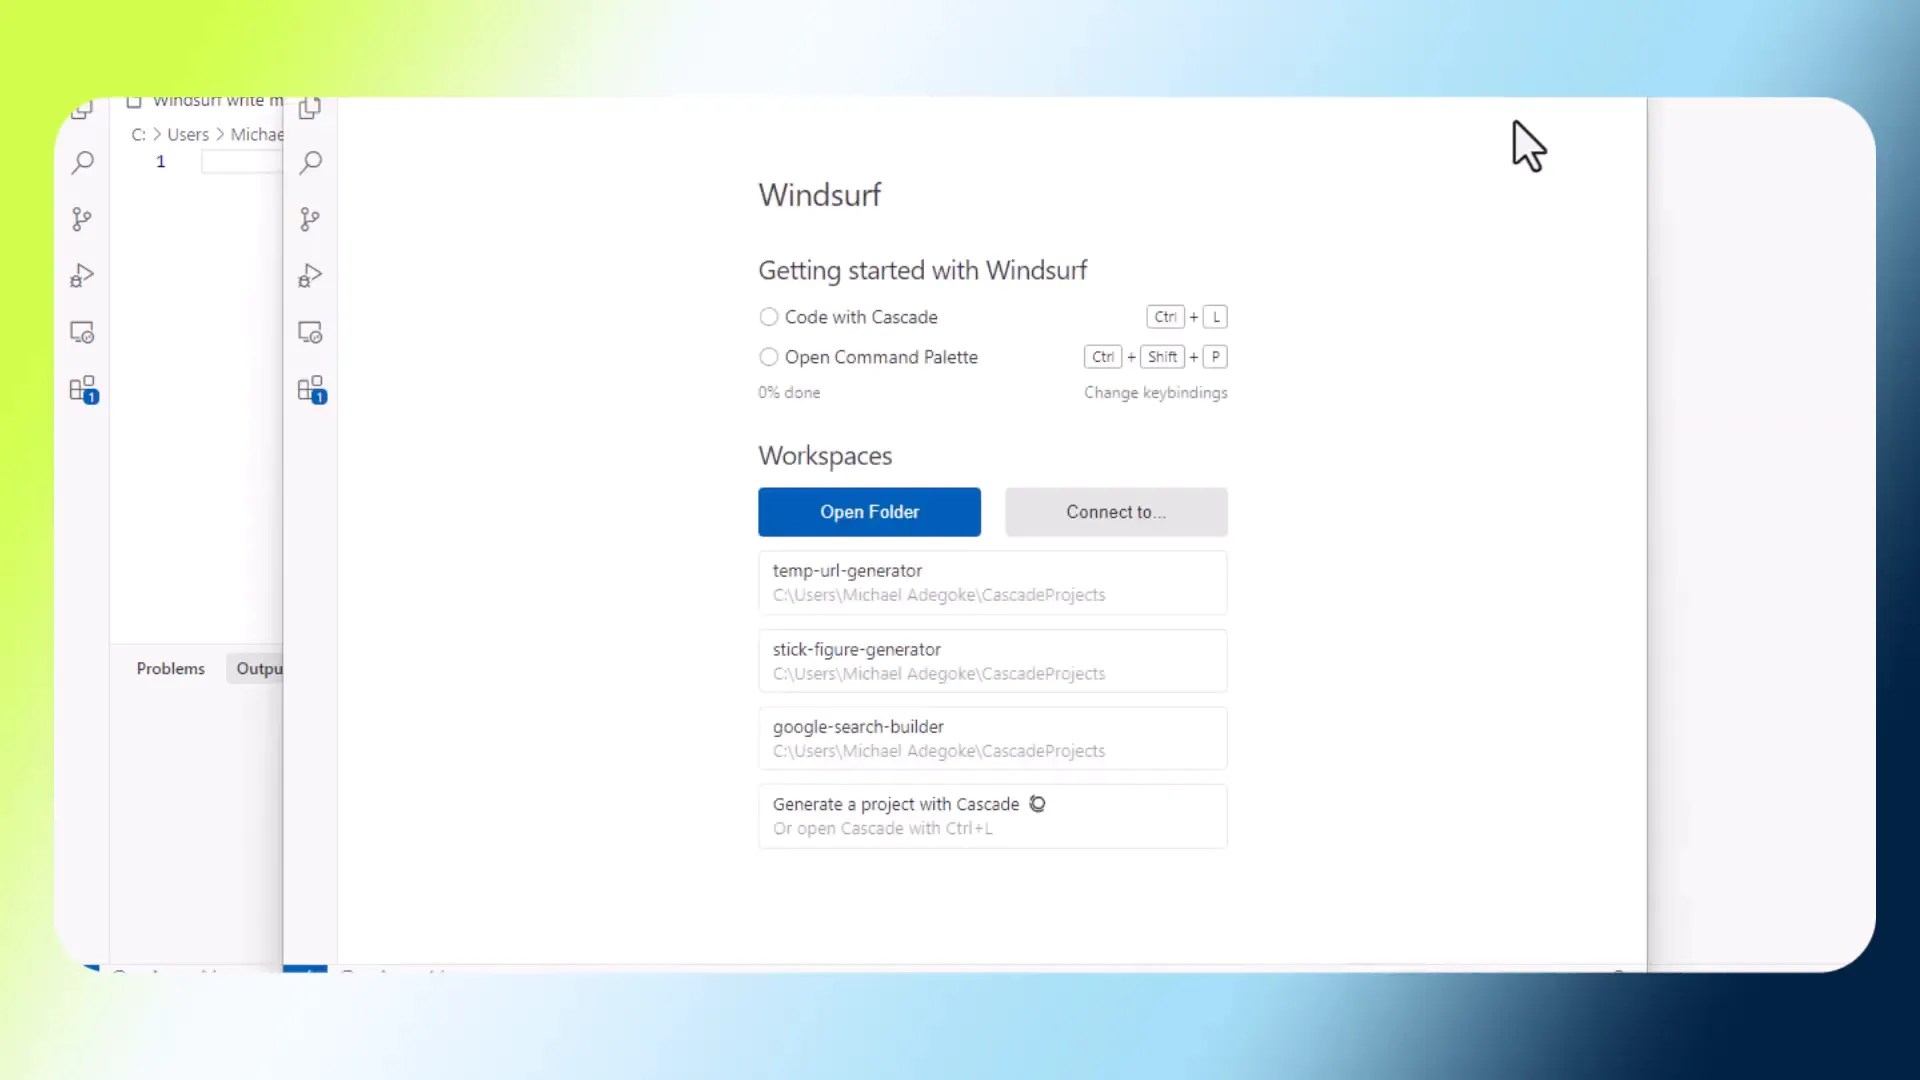
After giving a prompt to Windsurf AI, the project was generated for me. Here’s how it looks on my desktop, but now I want to make it accessible online.
Step 1: Log into Your Web Hosting Space
The first thing you need to do is log into your web hosting account. For this guide, I’m using A2 Hosting. Once logged in, navigate to the File Manager section. Here, you’ll see the various websites hosted under your account.

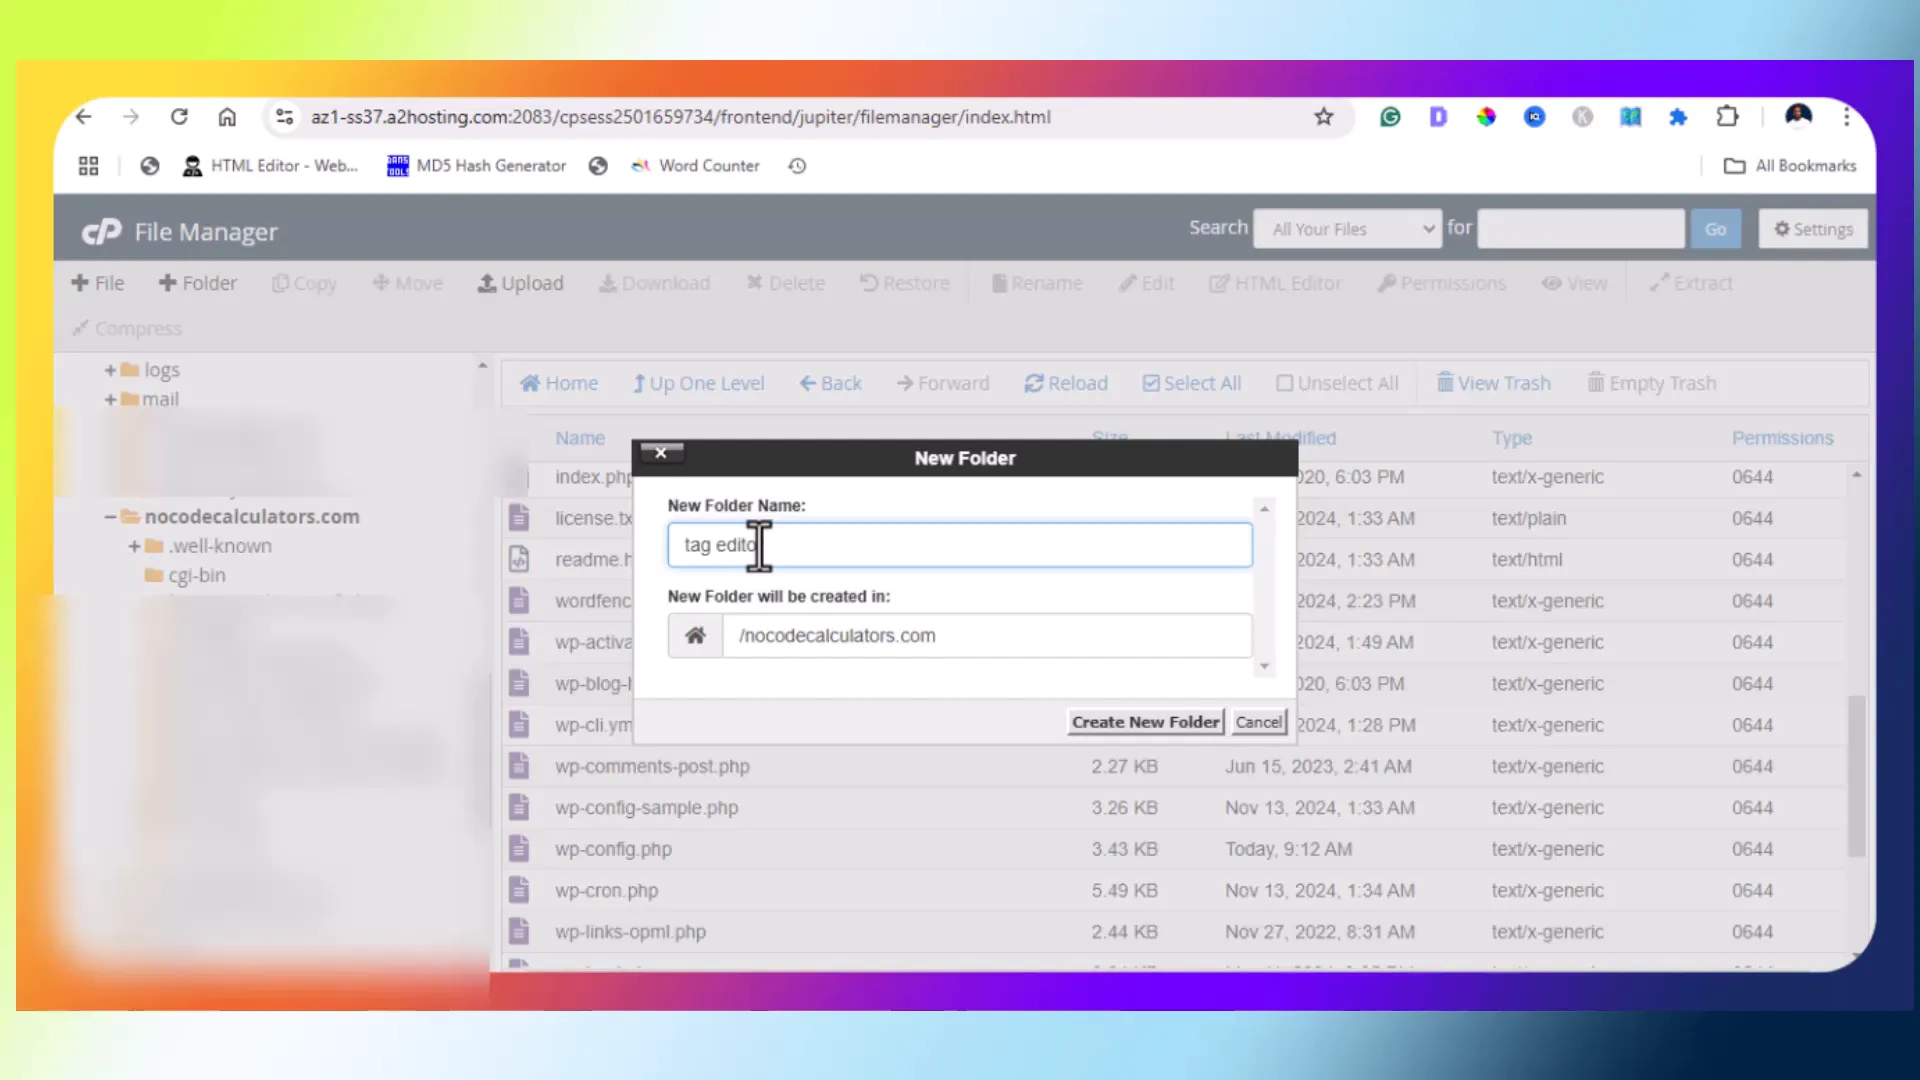
Step 2: Create a New Folder
Decide where you want to host your project. For instance, I chose to host it under the domain noodecalculator.com. Click on the option to create a new folder. The name of this folder should correspond to the URL path where your project will be accessible. For example, I named my folder tag-editor.
Step 3: Upload Your Project Files
Once the folder is created, you can start uploading your project files. You may need to upload them one at a time. For instance, you would upload your index.html file and any other necessary files, like JavaScript and CSS files. If you have multiple files, zipping them into one file can make the upload process easier.

After uploading, refresh the file manager, then unzip the files if necessary. This will prepare your project for the web.
Step 4: Access Your Live Project
Now that everything is uploaded, you can access your live project through the URL formed by combining your domain with the folder name. For example, it would look like this: noodecalculator.com/tag-editor. If everything was done correctly, your project should now be live!
Integrating with WordPress
If you’re using WordPress and want to integrate your project as a plugin, you can instruct Windsurf AI to create a WordPress plugin version of your project. After that, you can simply install it on your WordPress site, create a page, and use a shortcode to embed your project. However, note that this process may require some additional steps to ensure compatibility.
Conclusion
Hosting your Windsurf AI projects is an easy and straightforward process. With just a few steps, you can take your projects from your desktop to the web. If you found this guide helpful, please like the post, and consider subscribing for more content on using Windsurf AI and other helpful tools!