

In this guide, we’ll explore how to create online courses without incurring costs by utilizing free WordPress plugins. We’ll delve into two popular plugins, Paid Membership Pro and Tutor LMS, and how they can help you set up a robust e-learning platform.
Introduction to Course Creation
Creating online courses has become increasingly accessible, thanks to various tools and platforms available today. WordPress, paired with the right plugins, allows users to design and launch courses without significant financial investment. This democratization of education means that anyone with knowledge to share can create a learning experience for others. Understanding how to leverage these tools effectively is essential for success in the online education space.
Benefits of Using WordPress for Course Creation
- Cost-Effective: Many plugins are free or have affordable versions, making it feasible for anyone on a budget.
- User-Friendly: WordPress is designed for users without technical expertise, allowing for easy navigation and content creation.
- Customizable: A vast array of plugins and themes lets you tailor your course to meet specific audience needs.
- Scalable: As your course offerings expand, WordPress can grow with you by adding more plugins or features.
Overview of Paid Membership Pro
Paid Membership Pro (PMP) is a robust membership plugin for WordPress that enables users to create subscription-based content. This plugin is particularly useful for course creators looking to monetize their educational offerings. With its free version, you can access a variety of features that facilitate course management and membership control.
Key Features of Paid Membership Pro
- Membership Levels: Create multiple membership tiers, allowing for different access levels to your courses.
- Flexible Payment Options: Integrate with payment gateways like Stripe, PayPal, and others, enabling global transactions.
- Content Restriction: Control who sees what content based on their membership level.
- Reporting Tools: Gain insights into membership trends and user engagement through detailed reports.
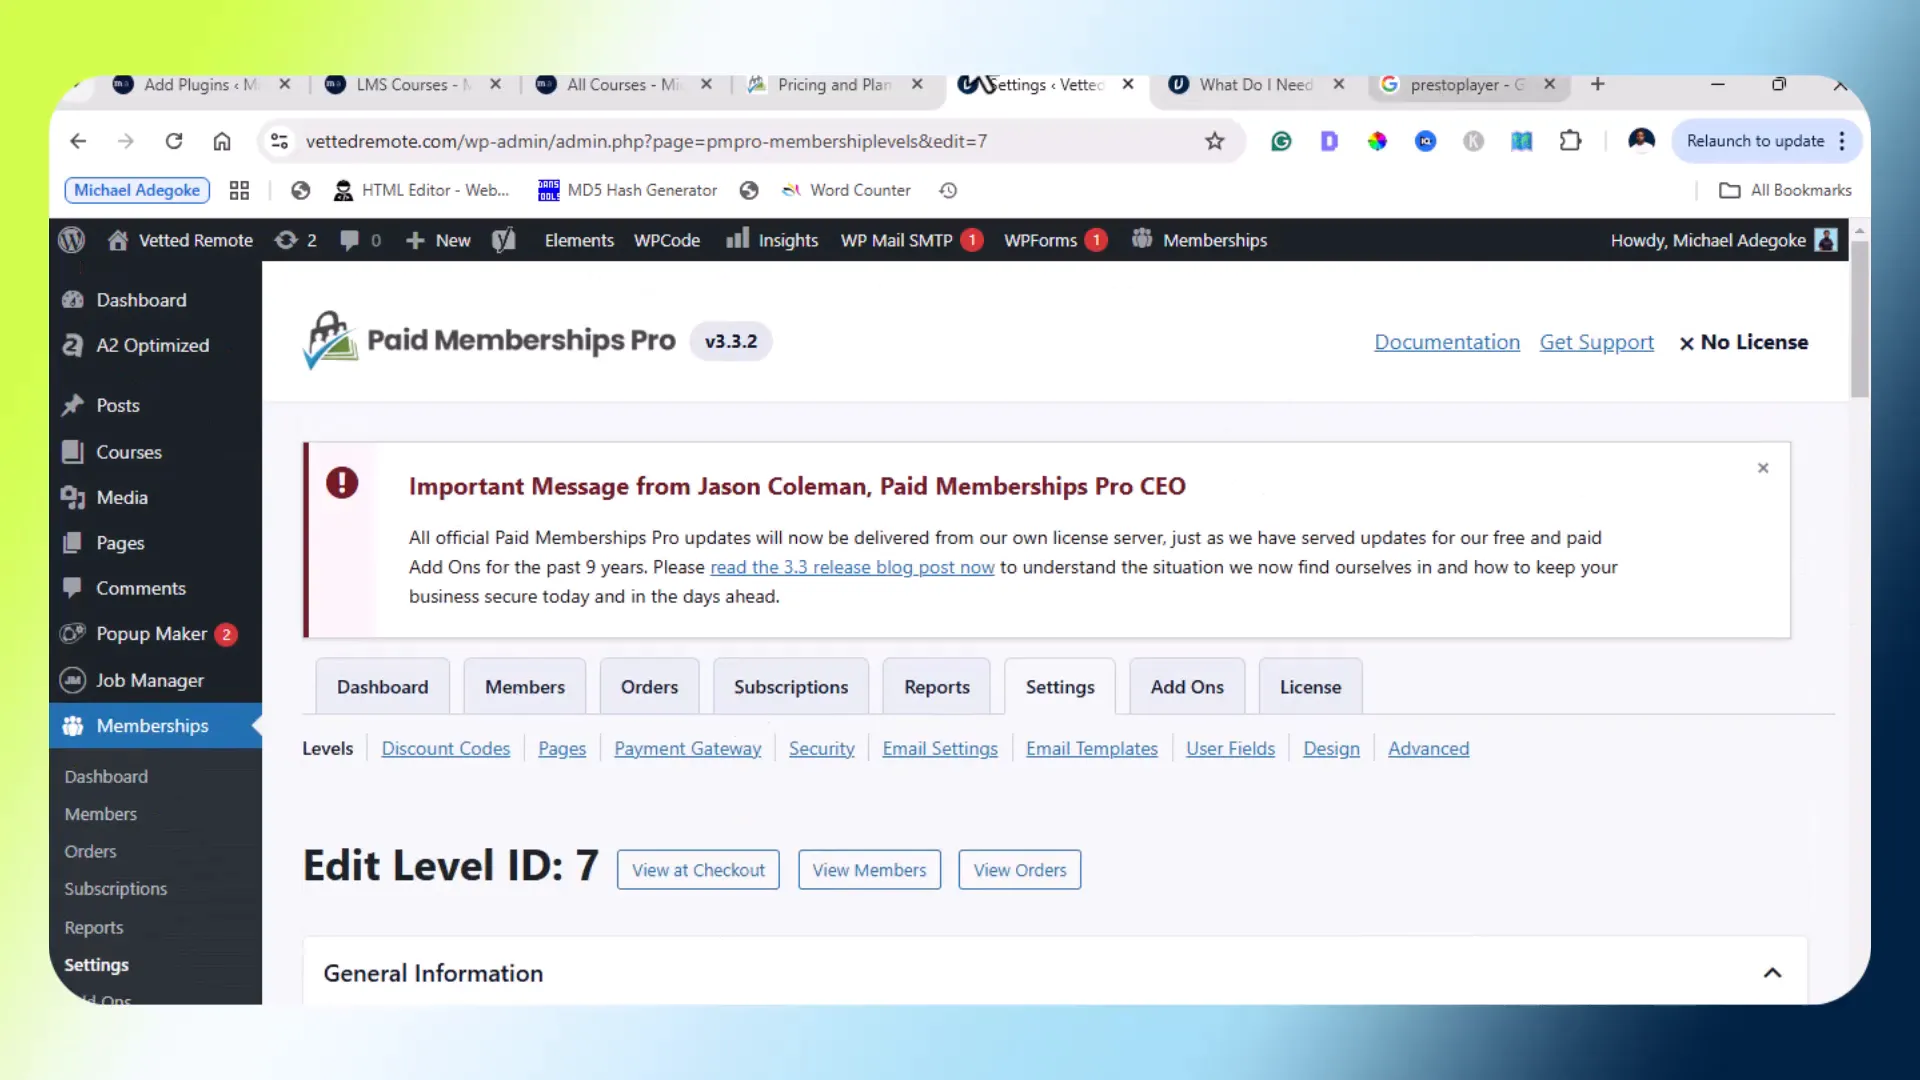
Setting Up Your Course with Paid Membership Pro
Setting up your course using Paid Membership Pro involves several steps, starting from installation to creating your first course. Here’s a simplified approach to get you started:
Installation and Basic Configuration
- Install the Paid Membership Pro plugin from the WordPress repository.
- Activate the plugin and navigate to the settings page to configure your payment gateways.
- Create membership levels that correspond to different course offerings.
Creating Your First Course
Once you have configured the plugin, you can begin creating your course:
- Go to the WordPress dashboard and select ‘Courses’ from the menu.
- Click on ‘Add New’ to create a new course entry.
- Add course content including lessons, videos, and other resources.
- Set restrictions based on membership levels to control access.
User Experience and Course Navigation
A seamless user experience is crucial for the success of your online course. Proper navigation ensures that learners can easily access content and progress through the course.
Designing an Intuitive Course Layout
When designing your course, consider the following:
- Clear Course Structure: Organize your content into modules or sections that are easy to follow.
- Progress Tracking: Implement features that allow users to track their progress through the course.
- Responsive Design: Ensure your course is accessible on various devices, including tablets and smartphones.
Encouraging Interaction and Engagement
Engagement is key to keeping learners interested. Here are some strategies:
- Incorporate quizzes and assessments to reinforce learning.
- Enable discussion forums or comment sections for peer interaction.
- Use gamification techniques to incentivize course completion.

Integrating Payment Methods
Choosing the right payment method is essential for the smooth operation of your online course. Paid Membership Pro supports various payment gateways, making it flexible for users worldwide.
Supported Payment Gateways
Some of the primary payment methods you can integrate include:
- Stripe: Ideal for subscription payments and one-time purchases.
- PayPal: A widely accepted payment method with robust security features.
- Paystack and Flutterwave: Great options for users in Africa, offering local payment solutions.
Setting Up Payment Gateway
To set up your preferred payment gateway, follow these steps:
- Navigate to the Paid Membership Pro settings page.
- Select the ‘Payment Gateway’ tab and choose your preferred method.
- Fill in the required credentials (API keys, merchant IDs, etc.) to connect your account.

Exploring Additional Plugins for Enhanced Functionality
While Paid Membership Pro provides essential features for course creation, additional plugins can enhance functionality and user experience. Here are some plugins to consider:
Recommended Plugins
- Tutor LMS: A powerful LMS plugin that provides a more structured course management system.
- WP Courseware: Offers drag-and-drop course creation for ease of use.
- LearnDash: A premium option that includes advanced features like quizzes and certificates.
Integrating Additional Plugins
When integrating additional plugins, ensure compatibility with Paid Membership Pro. Follow these steps:
- Install the desired plugin through the WordPress repository.
- Activate the plugin and configure its settings according to your course requirements.
- Test the integration to ensure seamless functionality.

By utilizing the right combination of plugins and tools, you can create a comprehensive online learning experience that engages users and facilitates their educational journey.
Introduction to Tutor LMS
Tutor LMS is a powerful and flexible learning management system plugin for WordPress. It is designed to offer a comprehensive solution for educators and institutions looking to create and manage online courses efficiently. With its user-friendly interface and extensive features, Tutor LMS allows course creators to build interactive learning experiences without needing extensive technical knowledge.
One of the standout features of Tutor LMS is its ability to support various content types. Whether you want to include videos, quizzes, assignments, or downloadable resources, Tutor LMS provides the tools necessary to create a rich educational environment. Additionally, it integrates seamlessly with other WordPress plugins, enhancing its functionality and allowing for greater customization.

Key Features of Tutor LMS
- Course Builder: A drag-and-drop course builder that simplifies the process of creating and organizing course content.
- Student Dashboard: Learners have access to a personalized dashboard to track their progress, view assignments, and access course materials.
- Quizzes and Assignments: Create assessments to gauge learner understanding and provide feedback.
- Reports and Analytics: Gain insights into course performance and student engagement through detailed analytics.
Differences Between Paid Membership Pro and Tutor LMS
While both Paid Membership Pro and Tutor LMS serve the purpose of facilitating online course creation, they cater to different needs and preferences. Here’s a breakdown of their key differences:
Functionality
- Membership Management: Paid Membership Pro focuses primarily on managing memberships and subscriptions, making it ideal for users who want to monetize their content. Tutor LMS, on the other hand, provides a more comprehensive learning management system that includes course creation, student tracking, and assessment tools.
- Course Structure: Tutor LMS offers a more structured approach to course design, featuring a built-in course builder that simplifies the creation process. Paid Membership Pro requires additional plugins for advanced course functionalities.
User Experience
- Ease of Use: Tutor LMS is generally considered more user-friendly, especially for those who may not have technical expertise. Paid Membership Pro may require more setup and configuration, particularly when integrating with other plugins.
- Customization Options: Both plugins offer customization, but Tutor LMS provides more built-in options for course design and management without the need for additional coding.
Customizations and Technical Setup
Setting up Tutor LMS involves several steps, from installation to fine-tuning its features to match your specific needs. Here’s a guide to get you started:
Installation Steps
- Download the Tutor LMS plugin from the WordPress repository.
- Upload the plugin to your WordPress site and activate it.
- Follow the setup wizard to configure the basic settings, including course options and payment gateways.

Customizing Your Courses
Tutor LMS allows for extensive customization to tailor your courses to your audience. Here are some key areas to focus on:
- Course Layout: Choose from various layouts and themes to create an appealing course presentation.
- Content Types: Add different types of content, such as videos, text, and quizzes, to enhance the learning experience.
- Certificates and Badges: Implement certificates for course completion and badges for achievements to motivate learners.
Payment Integration Options for Tutor LMS
One of the crucial aspects of running a successful online course is having reliable payment integration. Tutor LMS supports various payment gateways, allowing you to receive payments seamlessly.
Supported Payment Gateways
- PayPal: A popular choice for online payments, offering security and ease of use.
- Stripe: Ideal for credit card payments and subscriptions, Stripe provides a simple and effective payment solution.
- Paystack: Especially beneficial for users in Africa, Paystack allows for local payment solutions.
- WooCommerce: Integrate with WooCommerce for advanced e-commerce features if you plan to sell physical products alongside courses.
Setting Up Payment Options
To set up payment options in Tutor LMS:
- Navigate to the Tutor LMS settings page.
- Select the ‘Payment’ tab and configure your preferred payment gateway.
- Input the necessary credentials, such as API keys, to connect your payment processor.
Conclusion and Recommendations
Choosing between Paid Membership Pro and Tutor LMS depends on your specific needs and goals. If you seek a straightforward membership management system, Paid Membership Pro is an excellent choice. However, for a more comprehensive learning management solution, Tutor LMS stands out with its robust features and user-friendly interface.
For those on a budget, both plugins offer free versions that can facilitate course creation effectively. Tutor LMS, with its extensive features, is particularly beneficial for those looking to provide a structured learning experience.
Ultimately, consider your technical skills, the complexity of the courses you wish to create, and your monetization strategy when making your decision. Both plugins have their strengths, and with the right setup, you can successfully launch and manage your online courses.
